This course will be retired on July 14, 2025.
Heads up! To view this whole video, sign in with your Courses account or enroll in your free 7-day trial. Sign In Enroll
Preview
Video Player
00:00
00:00
00:00
- 2x 2x
- 1.75x 1.75x
- 1.5x 1.5x
- 1.25x 1.25x
- 1.1x 1.1x
- 1x 1x
- 0.75x 0.75x
- 0.5x 0.5x
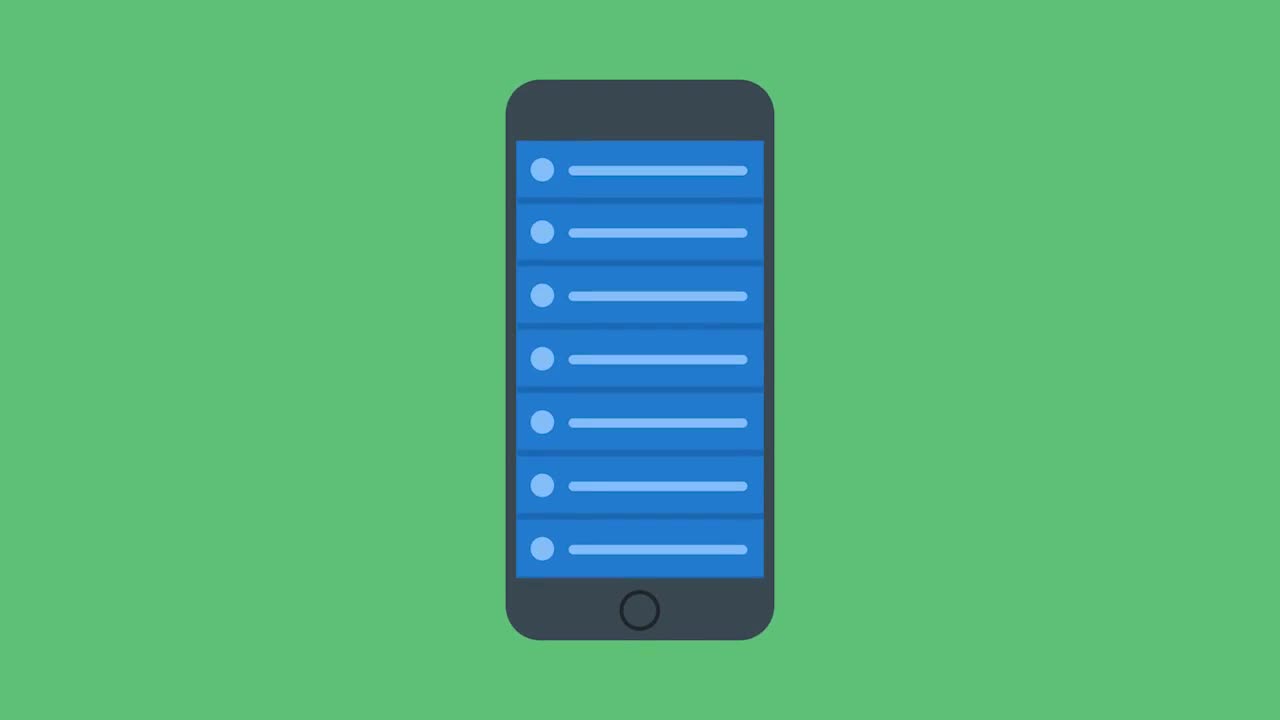
Let's take a quick look at what a RecyclerView is and how it's used in Android.
This video doesn't have any notes.
Related Discussions
Have questions about this video? Start a discussion with the community and Treehouse staff.
Sign upRelated Discussions
Have questions about this video? Start a discussion with the community and Treehouse staff.
Sign up
[MUSIC]
0:00
Originally in Android development,
a ListView was the only option for
0:04
showing items in a scrolling list.
0:08
It provided a convenient
way to display the list and
0:11
offer some good functionality and
conveniences.
0:15
We were able to easily add things
like on item click listeners and
0:18
use default adapters with ListViews.
0:22
Android 5.0,
lollipop introduced the RecyclerView.
0:25
And through the support
library makes it compatible
0:29
all the way back to Android API level 7.
0:33
I've mentioned that we'll be using
a RecyclerView to display our data,
0:37
I'm all for recycling.
0:41
Paper, cardboard, batteries, but
0:43
what exactly is a RecyclerView
when it comes to Android app?
0:45
What are we gonna be recycling there?
0:49
The RecyclerView widget is,
according to the Android documentation,
0:51
a more advanced and
flexible version of ListView.
0:55
In a nutshell, it is great for
large sets of data and
0:59
certain operations like
animating items in a list.
1:03
And as I mentioned,
it's backwards compatible.
1:07
It allows for the reuse or
recycling of the ListItemView holder.
1:10
When our list contains more information
than we'll want to display at one time,
1:16
Android takes a just in time approach.
1:20
This means that Android
creates the display for
1:23
list items right when they
are needed on the screen.
1:26
Now there is still some overhead in
creating views for the first time.
1:29
So, to make this as smooth as possible,
we can create one set of views for
1:32
just the items that can fit on the screen.
1:37
We can then reuse those
containers over and
1:40
over again as one item scrolls off or
reclaim the view add object for it and
1:43
fill it with new data from the next item
that is about to scroll onto the screen.
1:48
This saves room in memory and
offers great performance improvements
1:54
by recycling the container as
it scrolls off the screen.
1:57
Just the list of data is needed to
maintained and bound to the view.
2:01
At a high level using a RecyclerView
has the following steps: first,
2:05
we define a model class to
be used as a data source.
2:10
We've done this already
with our hour class.
2:14
Second, we add a RecyclerView
to our activity.
2:17
Next, we create a custom layout for
the raw of data to be displayed.
2:21
In our case it would be
hourly weather data,
2:26
with the hour, an icon,
a summary and estimated temperature.
2:28
Fourth, we need to create an adapter which
we'll talk about more later in the course.
2:34
Finally, we need to bind our data to
our model to populate the RecyclerView.
2:40
There are several steps to this and it can
get pretty complicated rather quickly.
2:45
Don't worry, we'll work through
them one at a time, step by step.
2:50
First, we'll create an hourly forecast
activity to house a RecyclerView and
2:55
build an adapter for
it to display our data.
3:00
We'll also need to set
up a view holder and
3:03
use the list item layout to
handle the custom layout.
3:05
I know it's a lot to cover, but
once you have this project completed,
3:09
you'll have a terrific sample to build
from for your own future projects.
3:12
You need to sign up for Treehouse in order to download course files.
Sign upYou need to sign up for Treehouse in order to set up Workspace
Sign up