This course will be retired on July 14, 2025.
Heads up! To view this whole video, sign in with your Courses account or enroll in your free 7-day trial. Sign In Enroll
Preview
Video Player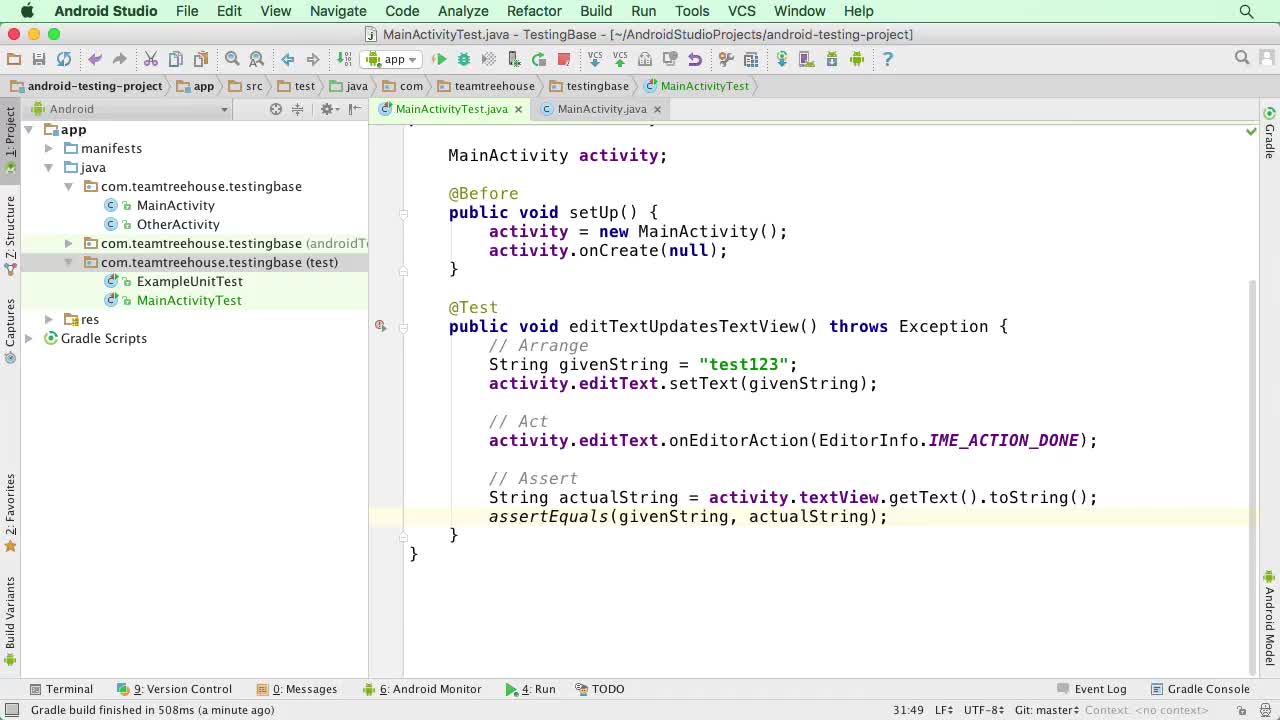
00:00
00:00
00:00
- 2x 2x
- 1.75x 1.75x
- 1.5x 1.5x
- 1.25x 1.25x
- 1.1x 1.1x
- 1x 1x
- 0.75x 0.75x
- 0.5x 0.5x
In this video we'll get to the bottom of what makes unit testing on Android seem so complicated!
Related Links
Related Discussions
Have questions about this video? Start a discussion with the community and Treehouse staff.
Sign upRelated Discussions
Have questions about this video? Start a discussion with the community and Treehouse staff.
Sign up
We just finished setting up our test, and
now it's time for the moment of truth.
0:00
Let's right-click anywhere inside
our MainActivityTest class and
0:04
choose Run to run our test.
0:08
And as promised, we get an error.
0:12
Specifically, we get a runtime exception.
0:16
Method, get window, and
Android.app.Activity not mocked.
0:19
Sounds like we might need
to do some mocking, but
0:25
before we get ahead of ourselves let's
click on the provided link for details.
0:28
At the bottom is a section
called "method not mocked".
0:36
Let's read that.
0:39
The Android jar file that is used
to run unit tests does not contain
0:41
any actual code.
0:46
The code is provided by the Android
system image on real devices.
0:49
Instead all methods throw
exceptions by default.
0:54
This is to make sure that your
unit tests only test your code and
0:58
do not depend on any particular
behavior of the Android platform
1:02
that we haven't explicitly marked
with Mockito or something.
1:06
If that proves problematic,
we can add the snippet below for
1:10
to build our grade file
to change this behavior.
1:14
So it sounds like the reason this is not
going to work is because the Android.jar
1:18
file does not have any code.
1:22
And by default,
1:24
when we are unit testing, all Android
methods will throw an exception.
1:25
But if we would like them to instead
return their default values,
1:30
we can add the provided code snippet to or
build.gradle file.
1:33
Let's do that so we can dig a little
bit deeper into what's going on.
1:38
Let's copy the testOptions block and
then paste it into
1:42
our app's build.gradle file
inside the Android tags.
1:47
Then let's sync the project.
1:56
And try running it again And
2:01
now we get a null pointer exception,
but what was a null?
2:06
Let's start walking through
the stack trace to find out.
2:11
We start in the setUp method for
2:15
our test With a call to our
activities on create method.
2:17
Then we call super.oncreate and
2:20
main activity which calls the oncreate
method and AppCompat activity.
2:25
When then calls get delegate,
also an AppCompat activity,
2:33
which calls This create method,
from the AppCompatDelegate class,
2:37
followed by this create method
which is right below the other one.
2:43
And this create method creates
a new AppCompatDelegateImplV7
2:49
object, which is really
just a call to super.
2:55
Which brings us to our final resting
place inside the constructor
3:01
of App.CompatDelegateImplbase.
3:05
Whew!
3:10
So, something on this line is
causing our no pointer exception,
3:12
which means It's this mWindow variable.
3:17
But then why is mWindow know null?
3:21
Well it looks like mWindow is getting
its value from the window parameter.
3:25
So, let's step back through the stack
to see where this value comes from.
3:32
Window Window.
3:37
Step up one.
3:41
Window, window, step up again,
3:42
window, that's also a parameter.
3:47
Here we go, activity.getWindow.
3:53
Let's right-click on this method and
3:58
choose Go To > Declaration, to see
where we're getting our window from.
4:00
Well, that's boring.
4:07
Activity.getWindow just
returns a field mWindow.
4:08
So now our question is,
why is mWindow null?
4:14
Let's search for mWindow = and
4:19
there's only one match: "mWindow=
new PhoneWindow(this)".
4:23
So since mWindow is null,
4:32
we can feel pretty confident that
this attach method was never called.
4:34
In fact as we can see
by the comment up here,
4:41
this attach method is part
of android's internal API.
4:46
Also what's up with all the errors?
4:51
And where does this file come from anyway?
4:54
Well, This file,
4:57
along with most of the Android files we've
been using, come from the Android SDK.
4:59
Let me show you.
5:04
If we click up here, to open the SDK
Manager, we can see the path to our SDK.
5:06
Then, if we navigate to that path
5:17
Go into platforms and
5:26
then pick the version of Android
we're targeting 23 for me.
5:28
We can see the android.jar file.
5:34
This android.jar file
5:36
provides us with all the Android framework
classes we need to write our apps.
5:39
But that doesn't mean it
contains the complete framework.
5:44
In fact, none of Android's internal
API is included in this jar,
5:48
which is why we have so many errors.
5:53
Basically, there are two different
versions of the Android.jar file.
5:56
There's the version we
used to develop with and
6:01
there's the version that
exists on a device.
6:03
The version we used for development
contains all the code we need to write
6:06
apps, but it doesn't include
any of the framework code.
6:10
And as we've seen the framework code is
6:14
pretty important when it comes
to creating an activity.
6:17
This is what makes unit testing
on Android so difficult.
6:19
The internal APIs,
which are responsible for creating and
6:24
launching activities,
are only available on a device and
6:27
if we're using a device,
it's not a unit test.
6:31
In the next video,
we'll see how we can fix this and
6:35
start exploring some other options for
testing.
6:37
You need to sign up for Treehouse in order to download course files.
Sign upYou need to sign up for Treehouse in order to set up Workspace
Sign up