Heads up! To view this whole video, sign in with your Courses account or enroll in your free 7-day trial. Sign In Enroll
Preview
Video Player
00:00
00:00
00:00
- 2x 2x
- 1.75x 1.75x
- 1.5x 1.5x
- 1.25x 1.25x
- 1.1x 1.1x
- 1x 1x
- 0.75x 0.75x
- 0.5x 0.5x
Learn how to connect HTML forms to your Python backend using Flask.
This video doesn't have any notes.
Related Discussions
Have questions about this video? Start a discussion with the community and Treehouse staff.
Sign upRelated Discussions
Have questions about this video? Start a discussion with the community and Treehouse staff.
Sign up
Our website is coming together.
0:00
Now what will make this website great
is for the add pet form to work.
0:02
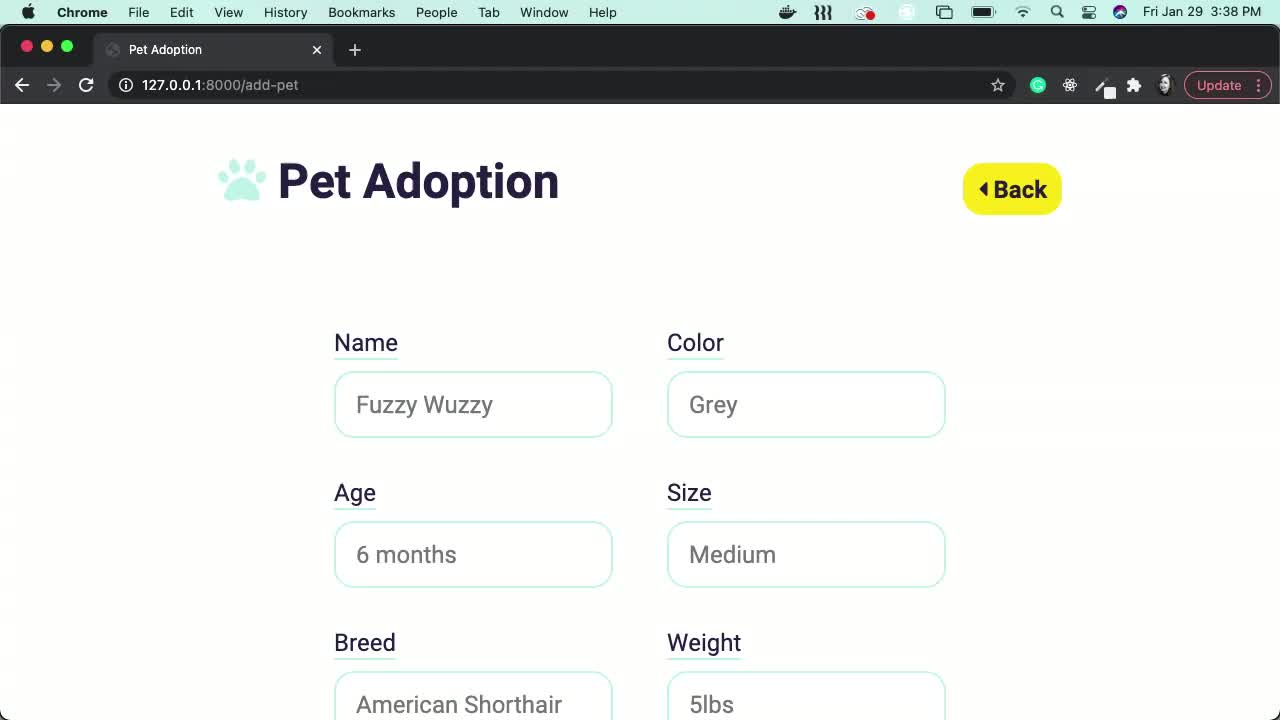
[LAUGH] Right now, if I fill out the form,
0:07
And hit Submit,
I get the same page returned to me.
0:19
And you can actually see the information
I submitted up here in the address bar.
0:24
What I want to happen is for
0:29
our form to submit our data to our
application so I can work with the data.
0:31
Let's get to work.
0:38
Let's start with the HTML.
0:41
In our addpet.html file,
let's find the start of our form.
0:43
We need to set this action attribute.
0:50
This will be the URL we
want the form to submit to.
0:53
Let's do our double curlies.
0:58
And url_for and
we're going to do our add_pet.
1:02
Then we need to add a method attribute and
set it to post.
1:09
The post attribute will send our
form data to our add_pet route.
1:18
Then we can play around with the data, but
1:26
first we need to make sure our route knows
it's going to be receiving some data.
1:29
Save and jump into app.py and
find our add_pet route.
1:35
We need to add here
a methods parameter as well.
1:43
Equals GET and POST.
1:48
We need both because this route is
used to get our addpet page and
1:57
show it to the user, and now it will be
also receiving our form data via a post.
2:02
Great, now to make sure we can see
our data, let's also import request.
2:11
And since this is getting a little long,
2:20
I'm gonna put it inside
of some parentheses.
2:23
Enter that onto the next line.
2:28
There we go, okay.
2:29
Inside of this function,
we can now use our request,
2:35
and to access our form, it's .form.
2:40
Save, and let's see what this looks like.
2:43
I'm going to,
2:54
Oops, I forgot our
3:07
string there.
3:13
Now we can go here, and I can refresh.
3:17
There we go, perfect.
3:20
And let's resubmit our cat.
3:23
And I'm just gonna put random
stuff here and submit.
3:37
And you can see we don't get all of
the information that we had before up in
3:43
the address bar, but
we still return to the same page.
3:47
And down here in the console,
you can now see we have this immutable
3:52
multi dictionary,
which means we cannot change the values.
3:57
The keys here come from the name
attributes on our form inputs.
4:04
If I pop over into our form and I go to
one of our inputs, here's the one for
4:09
the animal's name.
4:13
You can see we have a name attribute and
it's set equal to name.
4:15
And here's this one set equal to age.
4:19
And that's where our keys come from.
4:22
And then the values of course are what
the user inputs into the form.
4:24
Let's try accessing a value.
4:29
Now because it's a dictionary,
4:32
this should be really familiar,
.form, name.
4:35
Save, and let's come back over here.
4:40
And if I refresh, it'll actually
resubmit the form automatically.
4:45
So I can just hit Continue.
4:49
And you can see our immutable
multi dictionary and
4:52
of course the name of our
animal that we submitted.
4:55
A quick review on what's happening.
5:01
When a form is submitted,
the browser looks at the action and
5:03
method attributes on the form to see
what it should do with the information.
5:07
Here, we're telling Flask to insert
the root for the add_pet function.
5:13
And the browser is going okay,
I need to send this
5:19
information from this form
as a POST to this route.
5:24
The application then receives
this information and
5:30
now has access to the data
submitted by the form,
5:34
because the route now accepts
information or POST requests.
5:38
Now that we have our form submitting,
we can work on saving these pets in
5:44
a database and
displaying them on the homepage.
5:49
Then the users can click to see more
detailed information, awesome job.
5:52
You need to sign up for Treehouse in order to download course files.
Sign upYou need to sign up for Treehouse in order to set up Workspace
Sign up